Is a DIY DStv installation worth it? For a full installation, usually not. Mounting a dish at height, aligning it accurately to a satellite tens of thousands of kilometres away and sealing the cabling properly are jobs where small mistakes show up as dropouts in the next storm. A professional DStv installation costs money; a fall from a roof or a system you have to redo costs more.
That said, not every DStv task needs a technician. This article sets out, honestly, which jobs a reasonably handy homeowner can manage, which ones they should not attempt, and why. If you first want an overview of how the dish, LNB, cabling and decoder fit together, start with our homeowner's guide to DStv installation.
A Quick Comparison by Task
| Task | DIY? | Why |
|---|---|---|
| Setting up a DStv Streama | Reasonable | No dish is involved. It runs over your internet connection. |
| Moving a decoder to a room that already has a working cable point | Reasonable | It is a plug-in job, provided the cabling and LNB already support that room. |
| Restarting a decoder or reseating the cable at the back of it | Reasonable | A safe first check for many signal faults. |
| Mounting a new dish | Not advised | Work at height, fixings into roofs or walls, and a solid mount that has to survive wind and hail. |
| Aligning or realigning a dish | Not advised | Needs fine adjustment against signal readings, usually done on a ladder or roof. |
| Fitting an LNB or Smart LNB | Not advised | Requires the right LNB for your decoders, plus realignment and sealed outdoor connections. |
| Running new cable to extra rooms | Not advised | Ceiling voids, roofs and outdoor connectors are where most long-term faults begin. |
The Safety Problem With Roof and Ladder Work
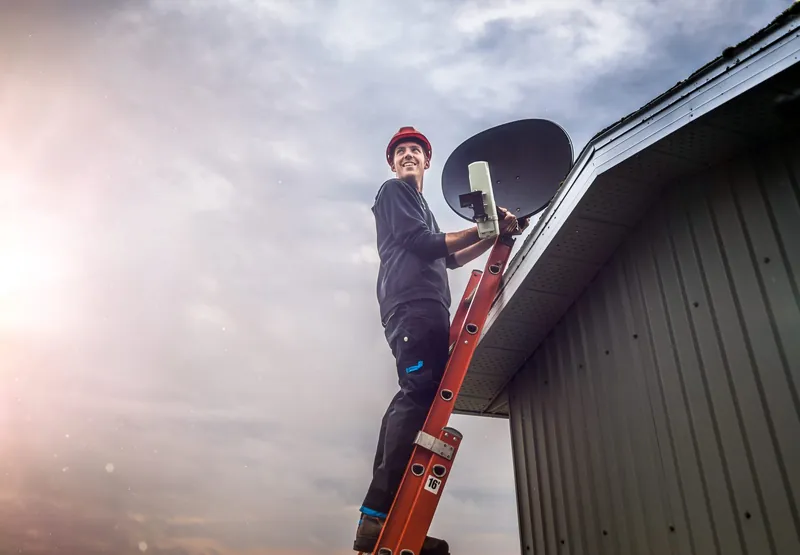
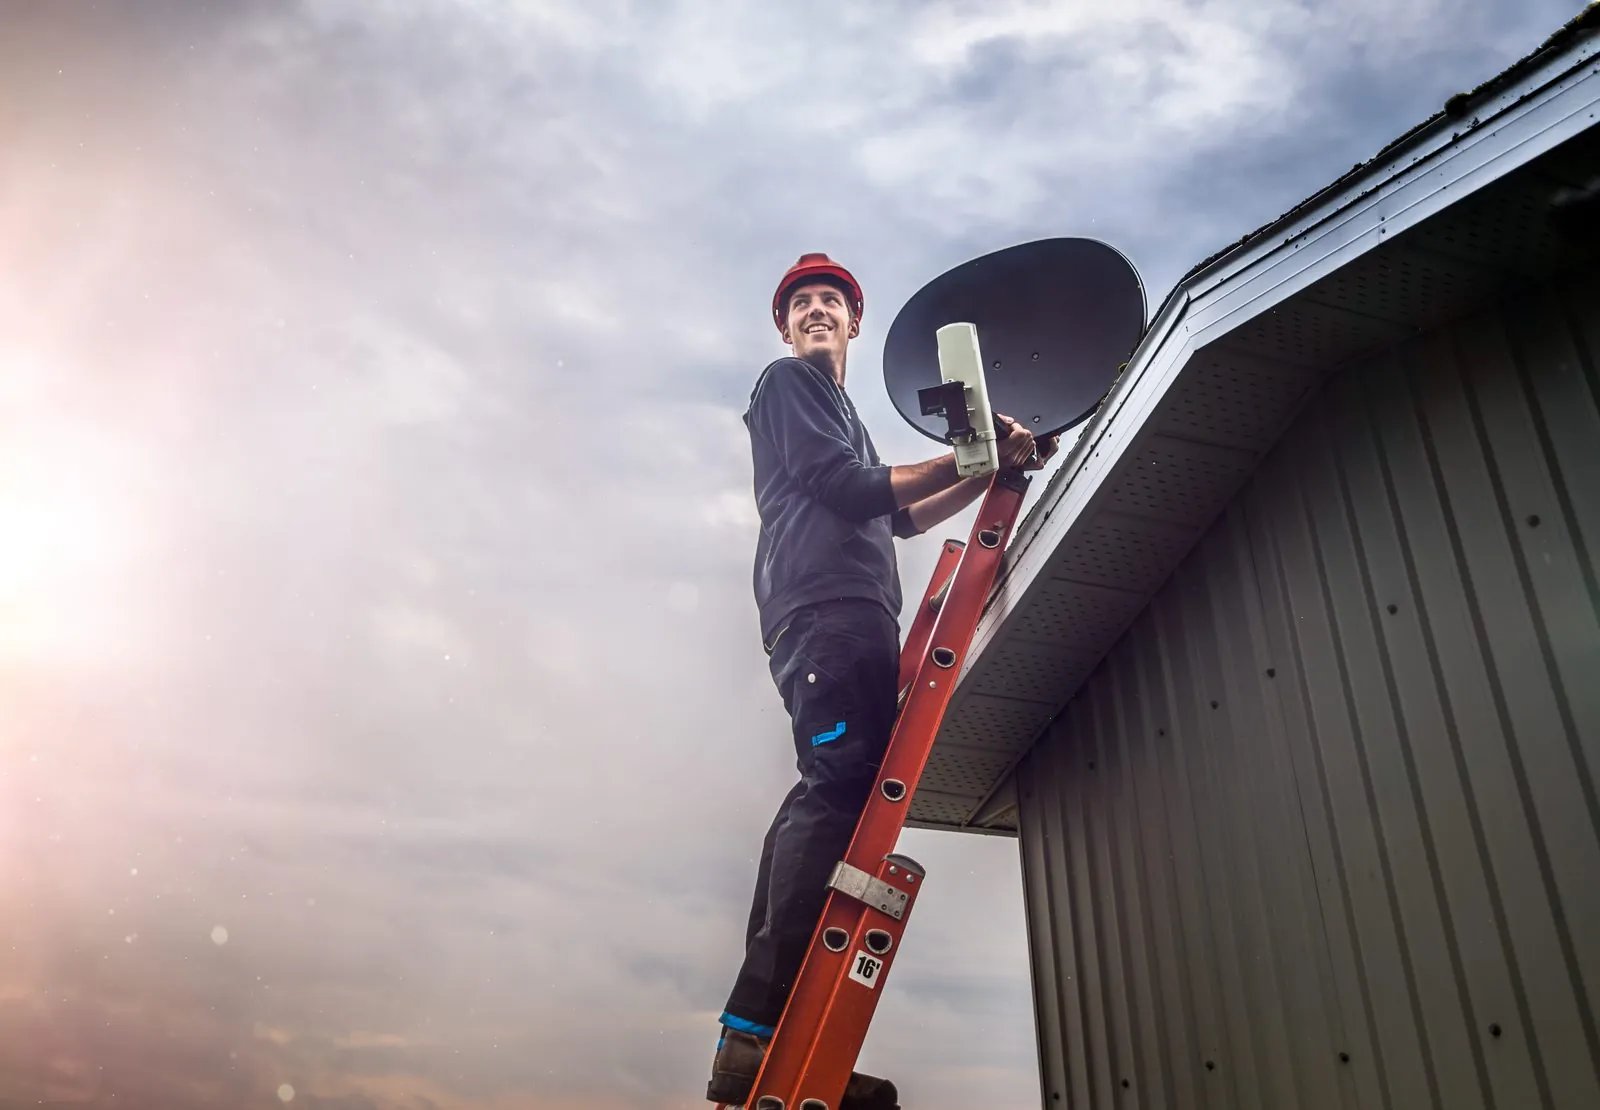
The biggest argument against DIY has nothing to do with signal. It is the work at height. Dishes are mounted on roofs, gables, fascias and high walls, and aligning one usually means standing on a ladder with both hands busy.
- Roof surfaces are unpredictable. Tiles crack under foot, sheeting can be slippery, and a roof that looks solid may not carry your weight at every point.
- Ladders on uneven ground slip. Paving, garden beds and sloped driveways are common setups for a fall.
- Power lines are a serious hazard. Dish and cable work must be kept well away from overhead lines. A dish or ladder that touches one can be fatal.
- Weather turns quickly. Gauteng's summer storms arrive fast, bringing wind and lightning that make roof work dangerous.
Please do not climb onto your roof to adjust or inspect a dish. If something looks wrong from the ground, call 083 489 1322 and let a technician deal with it.
Where DIY Installations Usually Go Wrong
When we are asked to look at a self-installed system that never worked properly, the faults tend to fall into the same few categories.
Aligning the dish by eye
From Gauteng, the dish needs to point roughly north-east and be tilted upward at the right angle. Getting "a picture" is not the same as getting a strong signal. A dish that is slightly off may work on a clear day but have so little signal margin that the first heavy thunderstorm knocks it out. A technician adjusts the dish in small increments while reading signal strength and quality, and stops when both are at their best, not just when a picture appears.
Cheap connectors and poor terminations
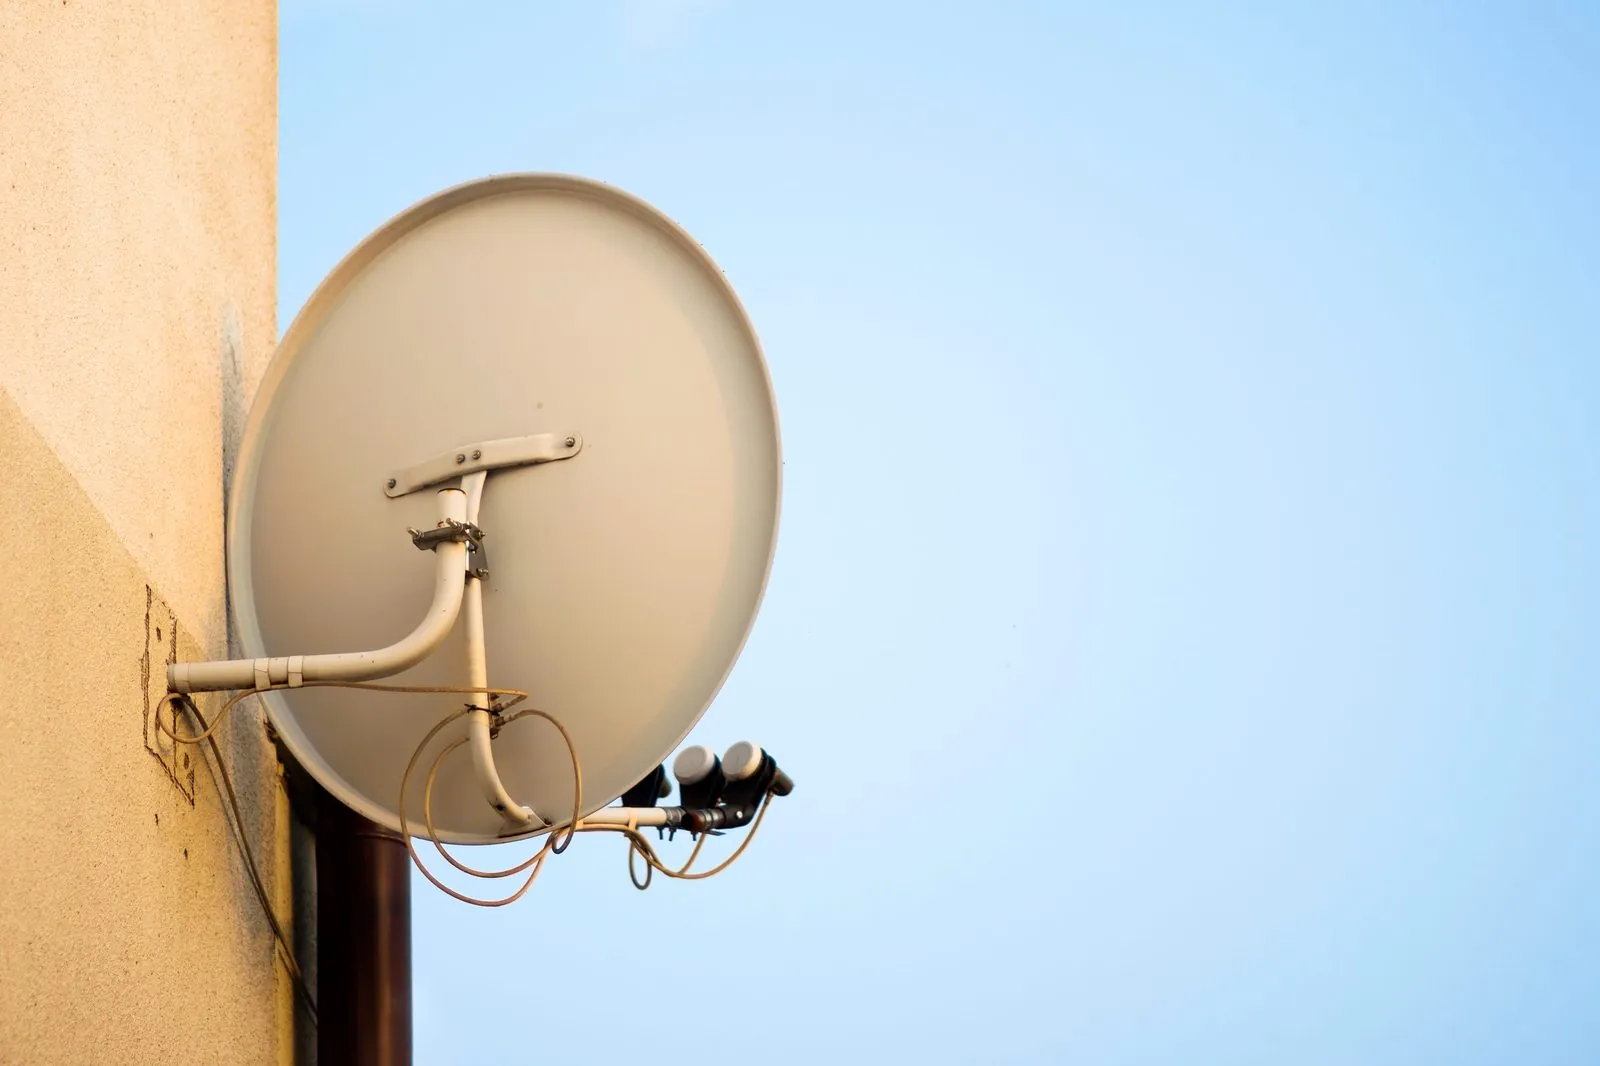
Twist-on connectors from a hardware shop are easy to fit and easy to get wrong. Stray strands of the cable's braid can short the connection, and loose fittings work free over time. Many weak-signal faults trace back to one badly made connector.
Water getting into the cable
Every outdoor connection needs to be properly sealed. Water that enters at the LNB or at a joint can travel along the inside of the coaxial cable and corrode it, causing faults that get gradually worse. Cable left exposed to the sun without care also perishes over time, as the outer sheath cracks in UV light. Our article on spotting damaged cables and connectors shows what this looks like.
The wrong LNB for an Explora
Explora decoders need the right signal feed. DStv recommends its Smart LNB for all Explora installations, because it builds the function of a DStv switch into the LNB and uses UniCable outputs. Fitting an older single LNB that happened to be in the garage, or reusing one from a previous setup, can leave an Explora unable to work properly. This matters even more once XtraView is added. Our Explora installation service covers what the decoder needs.
Cable routing shortcuts
Coaxial cable does not like tight bends, crushing staples or being pulled across sharp edges. A kink that looks harmless can degrade the signal. It also does not like being run through a roof without protection from rodents, who are well known for chewing it.
When Doing It Yourself Makes Sense
There are jobs where calling a technician would be unnecessary.
Moving a decoder to a room that is already cabled
If a properly installed cable point already exists in the other room, and your LNB and any switching equipment already feed that point, moving the decoder is mostly a matter of unplugging and plugging back in. Make sure the cable is pushed fully onto the decoder's satellite or LNB input and that the decoder is restarted at the wall. If the signal is missing in the new room, the cable or distribution may not be set up for it, and that is installer work.
Setting up a Streama
The DStv Streama is an internet streaming box. No dish, no LNB and no satellite cabling are involved, so it is designed to be set up by the customer on their TV and home network.
Basic checks before calling for help
If the signal drops, there are safe checks you can do from inside the house: wait out a heavy storm, see whether every TV in the home is affected, check the cable is firmly connected at the decoder, restart the decoder at the wall plug, and look at the dish from the ground for obvious damage. Anything beyond that, including opening a decoder or LNB, is a job for a technician.
What You Get From a Professional Installer
- Correct equipment for your decoders. The right LNB, switch or multiswitch for your setup, rather than whatever is to hand.
- Alignment based on measurement. Signal strength and quality are read and optimised, giving the system more headroom in rain.
- Weatherproofed connections. Outdoor joints sealed against water and cable routed to avoid crushing, sharp edges and sun damage where possible.
- Safe work at height. Ladders, roof access and power-line awareness handled by someone trained for it.
- A tested system. Every TV point checked on screen before the technician leaves.
OnspotElec is an authorised DStv installer working across Gauteng. If your DIY setup has weak signal or keeps dropping in storms, our dish alignment and signal testing is often the place to start.
DIY or Professional: Your Questions Answered
You can, but the mounting position and the fixings matter as much as the alignment. A technician may need to move or re-secure the bracket before the dish can be aligned properly, which can undo the work you have already done.
A phone app can help you find the general direction of the satellite, but it does not measure the actual signal coming into the LNB. Fine alignment still needs a proper signal reading.
If it rides out heavy rain without dropping, it may be fine. If it loses signal during storms more than you would expect, or the picture breaks up, the alignment or connectors are worth having looked at before the worst of summer.
Often, if it is suitable and in good condition. If it is the wrong type for your decoder, such as a standard LNB for an Explora setup, the installer will explain why it needs replacing.
Whether you are starting from scratch or fixing a DIY setup that never quite worked, OnspotElec can help. Call 083 489 1322, any day and any hour.